Loading

Next Dental Lab
Free 11-page playbook · From Next Dental Lab

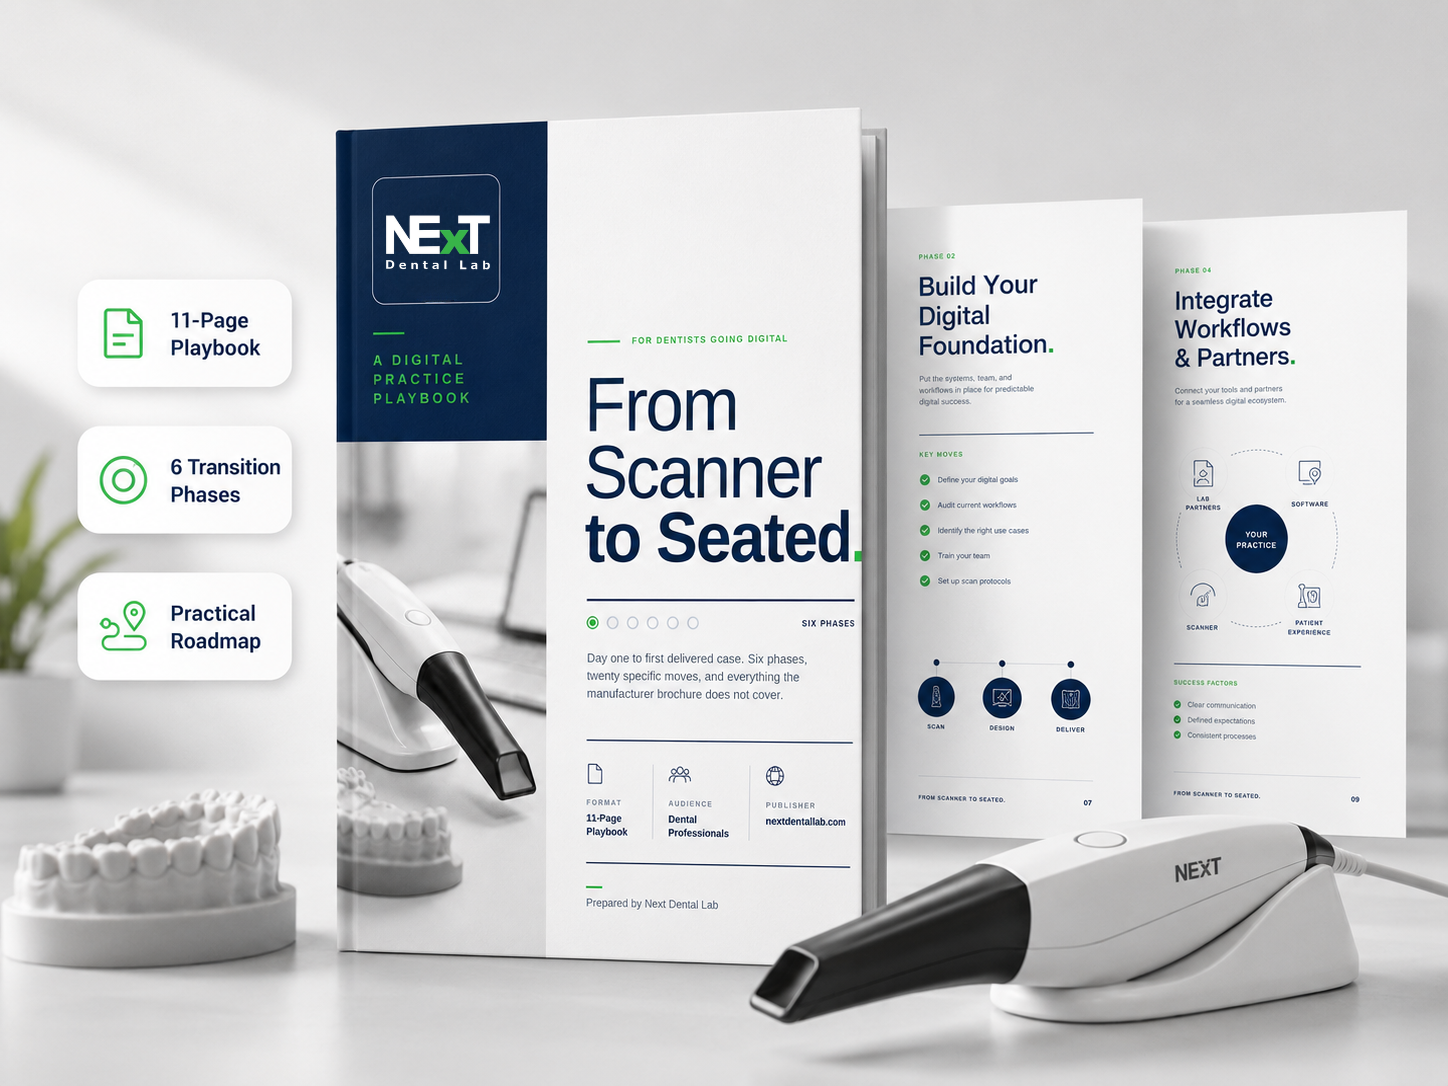
From Scanner to Seated — A Digital Practice Playbook

A phase-by-phase roadmap from the day your scanner arrives to your first delivered case — and beyond. Six phases, eighteen specific moves, and everything the manufacturer brochure does not cover.

  • Instant download
  • Emailed copy for your team
Free download

Get the playbook — 2 fields, instant access

  • Six phases from unboxing to a seated digital case
  • The scan checklist that prevents remakes
  • How practices get the scanner paid back in case credits

By submitting, you agree to receive emails from Next Dental Lab and accept our Privacy Policy. Unsubscribe any time.

Looking for dental treatment for yourself? Start here instead.

SSL secured · Trusted by practices in 40+ states

Your 6-Phase Roadmap to Going Digital

A practical path from initial setup to confident scanning, consistent digital case submission, and scanner payback.

  1. 01
    Days 1–7

    Set Up the System

    Connect your scanner, technology, prescriptions, and dental laboratory workflow.

    Key actions
    • Confirm scanner and file compatibility
    • Prepare computers and network requirements
    • Complete a test export and laboratory connection
  2. 02
    Week 2

    Prepare the Team

    Assign clear responsibilities and build confidence through structured training.

    Key actions
    • Assign a digital workflow champion
    • Train doctors, assistants, hygienists, and administrators
    • Establish clear scanning and submission responsibilities
  3. 03
    Weeks 3–4

    Start With Predictable Cases

    Begin with straightforward indications before progressing to more complex cases.

    Key actions
    • Begin with study models and hygiene records
    • Add night guards, splints, and simple restorations
    • Progress gradually as the team gains confidence
  4. 04
    Weeks 4–6

    Improve Scan Quality

    Standardize tissue management, scan paths, case review, and submission checks.

    Key actions
    • Standardize tissue and moisture management
    • Follow consistent scan paths
    • Review margins, bite, opposing arch, and missing data
  5. 05
    Month 2+

    Increase Digital Adoption

    Expand case types and make scanning part of the practice's everyday workflow.

    Key actions
    • Expand the range of digital indications
    • Track team participation and digital case volume
    • Incorporate digital workflows into daily routines
  6. 06
    Month 3+

    Recoup the Investment

    Use eligible digital case volume to help offset the cost of the scanner over time.

    Key actions
    • Monitor scanner utilization and return on investment
    • Calculate eligible digital laboratory volume
    • Apply earned credits through the reimbursement program

Get the Complete Playbook

Download the full step-by-step guide, checklists, and implementation framework.

How to Implement an Intraoral Scanner in Your Dental Practice

Moving from physical impressions to digital scanning involves more than purchasing new technology. A successful transition requires proper system setup, structured team training, predictable first cases, consistent scan-quality standards, reliable dental laboratory communication, and a process for measuring adoption over time.

Jump to a topic

Prepare Your Technology and Laboratory Workflow

Before the first patient scan, confirm that the scanner exports the file formats accepted by your dental laboratory. Verify that computers, network connections, upload speeds, and security settings meet the manufacturer's requirements. Create prescription templates for common cases, connect the practice with the laboratory, complete a test export, and submit a mock case before using the scanner clinically.

Train Your Team and Choose the Right First Cases

Designate one team member as the digital workflow champion and give that person responsibility for training, troubleshooting, and maintaining standards. Doctors, assistants, hygienists, and administrative team members should understand their roles in scanning, reviewing, naming, and submitting cases. Begin with predictable indications such as hygiene records, study models, night guards, splints, and straightforward single-unit restorations before progressing to more complex cases.

Standardize Scan Quality and Case Submission

Consistent tissue management, moisture control, and scan paths are essential for predictable digital cases. Before dismissing the patient, review the scan from every angle and check the margins, opposing arch, bite, missing data, and areas where tissue may cover the preparation. Submit the scan with a complete prescription, material selection, shade information, photographs when needed, and relevant clinical notes.

Measure Adoption and Scanner Return on Investment

Monitor digital case volume, scan times, rescans, team participation, and the types of procedures being submitted digitally. Tracking these metrics helps identify training needs, workflow bottlenecks, and opportunities to increase scanner utilization. Eligible practices may also use digital case credits through the Next Dental Lab Scanner Reimbursement Program to help reimburse the scanner's purchase price over time.

Turn Digital Adoption Into Scanner Payback

Eligible digital cases can earn monthly laboratory credits that help reimburse the purchase price of your intraoral scanner.

Explore Scanner Reimbursement

Why practices are going digital

Practical advantages you'll feel in the first month.

Fewer retakes

No trays, no goop, no remakes from bad impressions — the original scan is always on file.

Cleaner lab communication

Open STL files arrive at the lab in minutes with prescription and notes attached.

On-screen case acceptance

Show patients the 3D scan chairside — the same view the lab sees.

Simpler adjustments

The original scan supports quick refinements and rescans without another appointment.

Team-wide workflow

Assistants, hygienists, and doctors each own a role that saves seconds per case.

Scanner payback

Case volume through Next Dental Lab can reimburse the scanner's purchase price over time.

Scanner Reimbursement

Your scanner may be more affordable than you think.

Next Dental Lab can reimburse 100% of the scanner purchase price through monthly digital case credits. Choose the scanner brand, dealer, purchase price, and reimbursement term.

Free download

Get the Free Digital Transition Guide

Instant download. We'll also email a copy so you can share it with your team.

  • SSL secured

By submitting, you agree to receive emails from Next Dental Lab and accept our Privacy Policy. Unsubscribe any time.

Looking for dental treatment for yourself? Start here instead.

Since 2008
Serving dental practices nationwide
All 50 States
Supporting practices across the U.S.
Full-Service Laboratory
Fixed, removable, implant, and appliance cases
Works With Leading Scanners
iTero, TRIOS, Medit, Primescan, and more
Frequently Asked Questions

Questions Before You Download?

Everything you need to know about the playbook, scanner compatibility, team implementation, and the Next Dental Lab Scanner Reimbursement Program.

Free 11-page guide. Instant access after the short form.

Yes. From Scanner to Seated is a free 11-page playbook. After completing the short form, you can download it immediately and receive a copy by email.

No. The playbook covers the process from initial preparation through the first delivered digital case, so it is useful whether your scanner is on order, recently installed, or already in daily use.

The playbook specifically references iTero, 3Shape TRIOS, Primescan, and Medit. However, the implementation principles apply to most intraoral scanners that can transmit accepted digital files to your dental laboratory.

It is designed for dentists, practice owners, assistants, hygienists, office managers, and digital workflow champions. The playbook can be shared with the entire team and used as a practical implementation guide.

Eligible practices can earn monthly laboratory credits based on qualifying digital case volume. Those credits can reimburse up to 100% of the scanner's documented purchase price, subject to the program's eligibility requirements and terms. Phase 06 of the playbook explains how scanner payback fits into the implementation process.

See how the Scanner Reimbursement Program works

After completing the short form, you'll be taken to a thank-you page with an immediate download link. We'll also email you a copy so you can save it or share it with your team.

Takes under 60 seconds

Ready to start your digital transition?

Get the practical checklist and step-by-step plan your practice can follow at its own pace.